Time: 35 Minutes
Materials: saw, sander, pencil, tape measurer, plywood, removable VELCRO® Brand Hangers
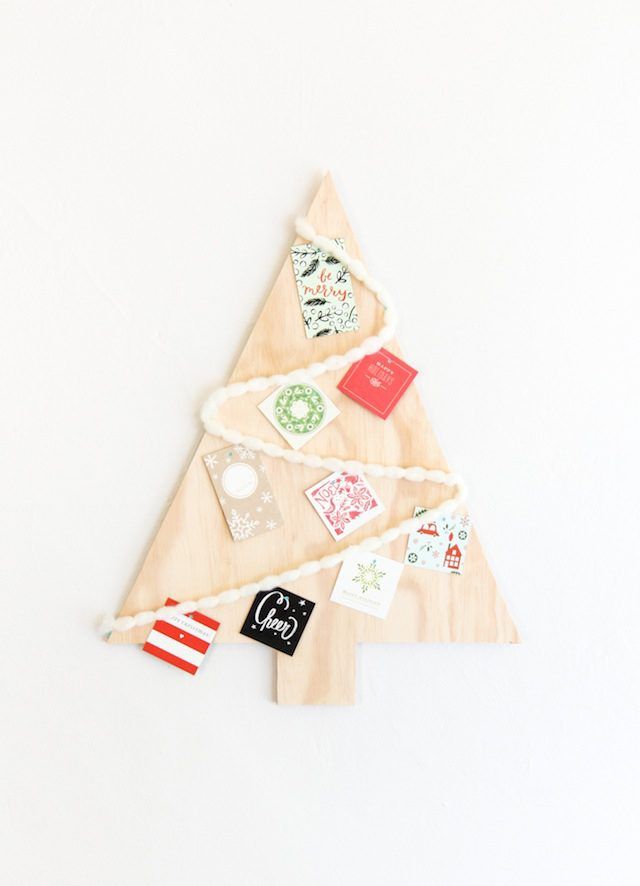
Start by measuring out the dimensions of your tree. Since your pencil marks will be your guidelines when cutting, if you’re measurements are slightly off, the tree will look lopsided. Take your time!

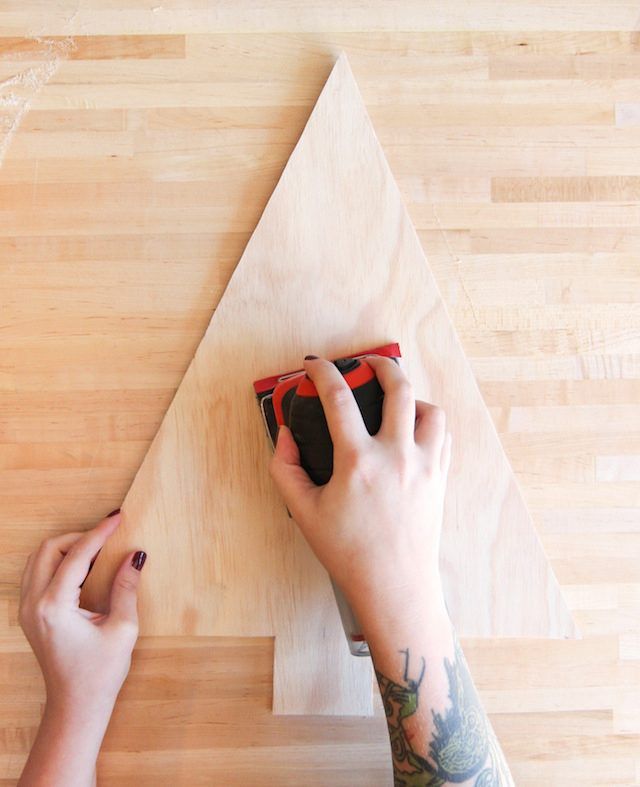
Using caution, cut out your tree with a saw. I used a scroll saw for this, but any saw should do. Sand the sides and the front surface to even out any unwanted imperfections.

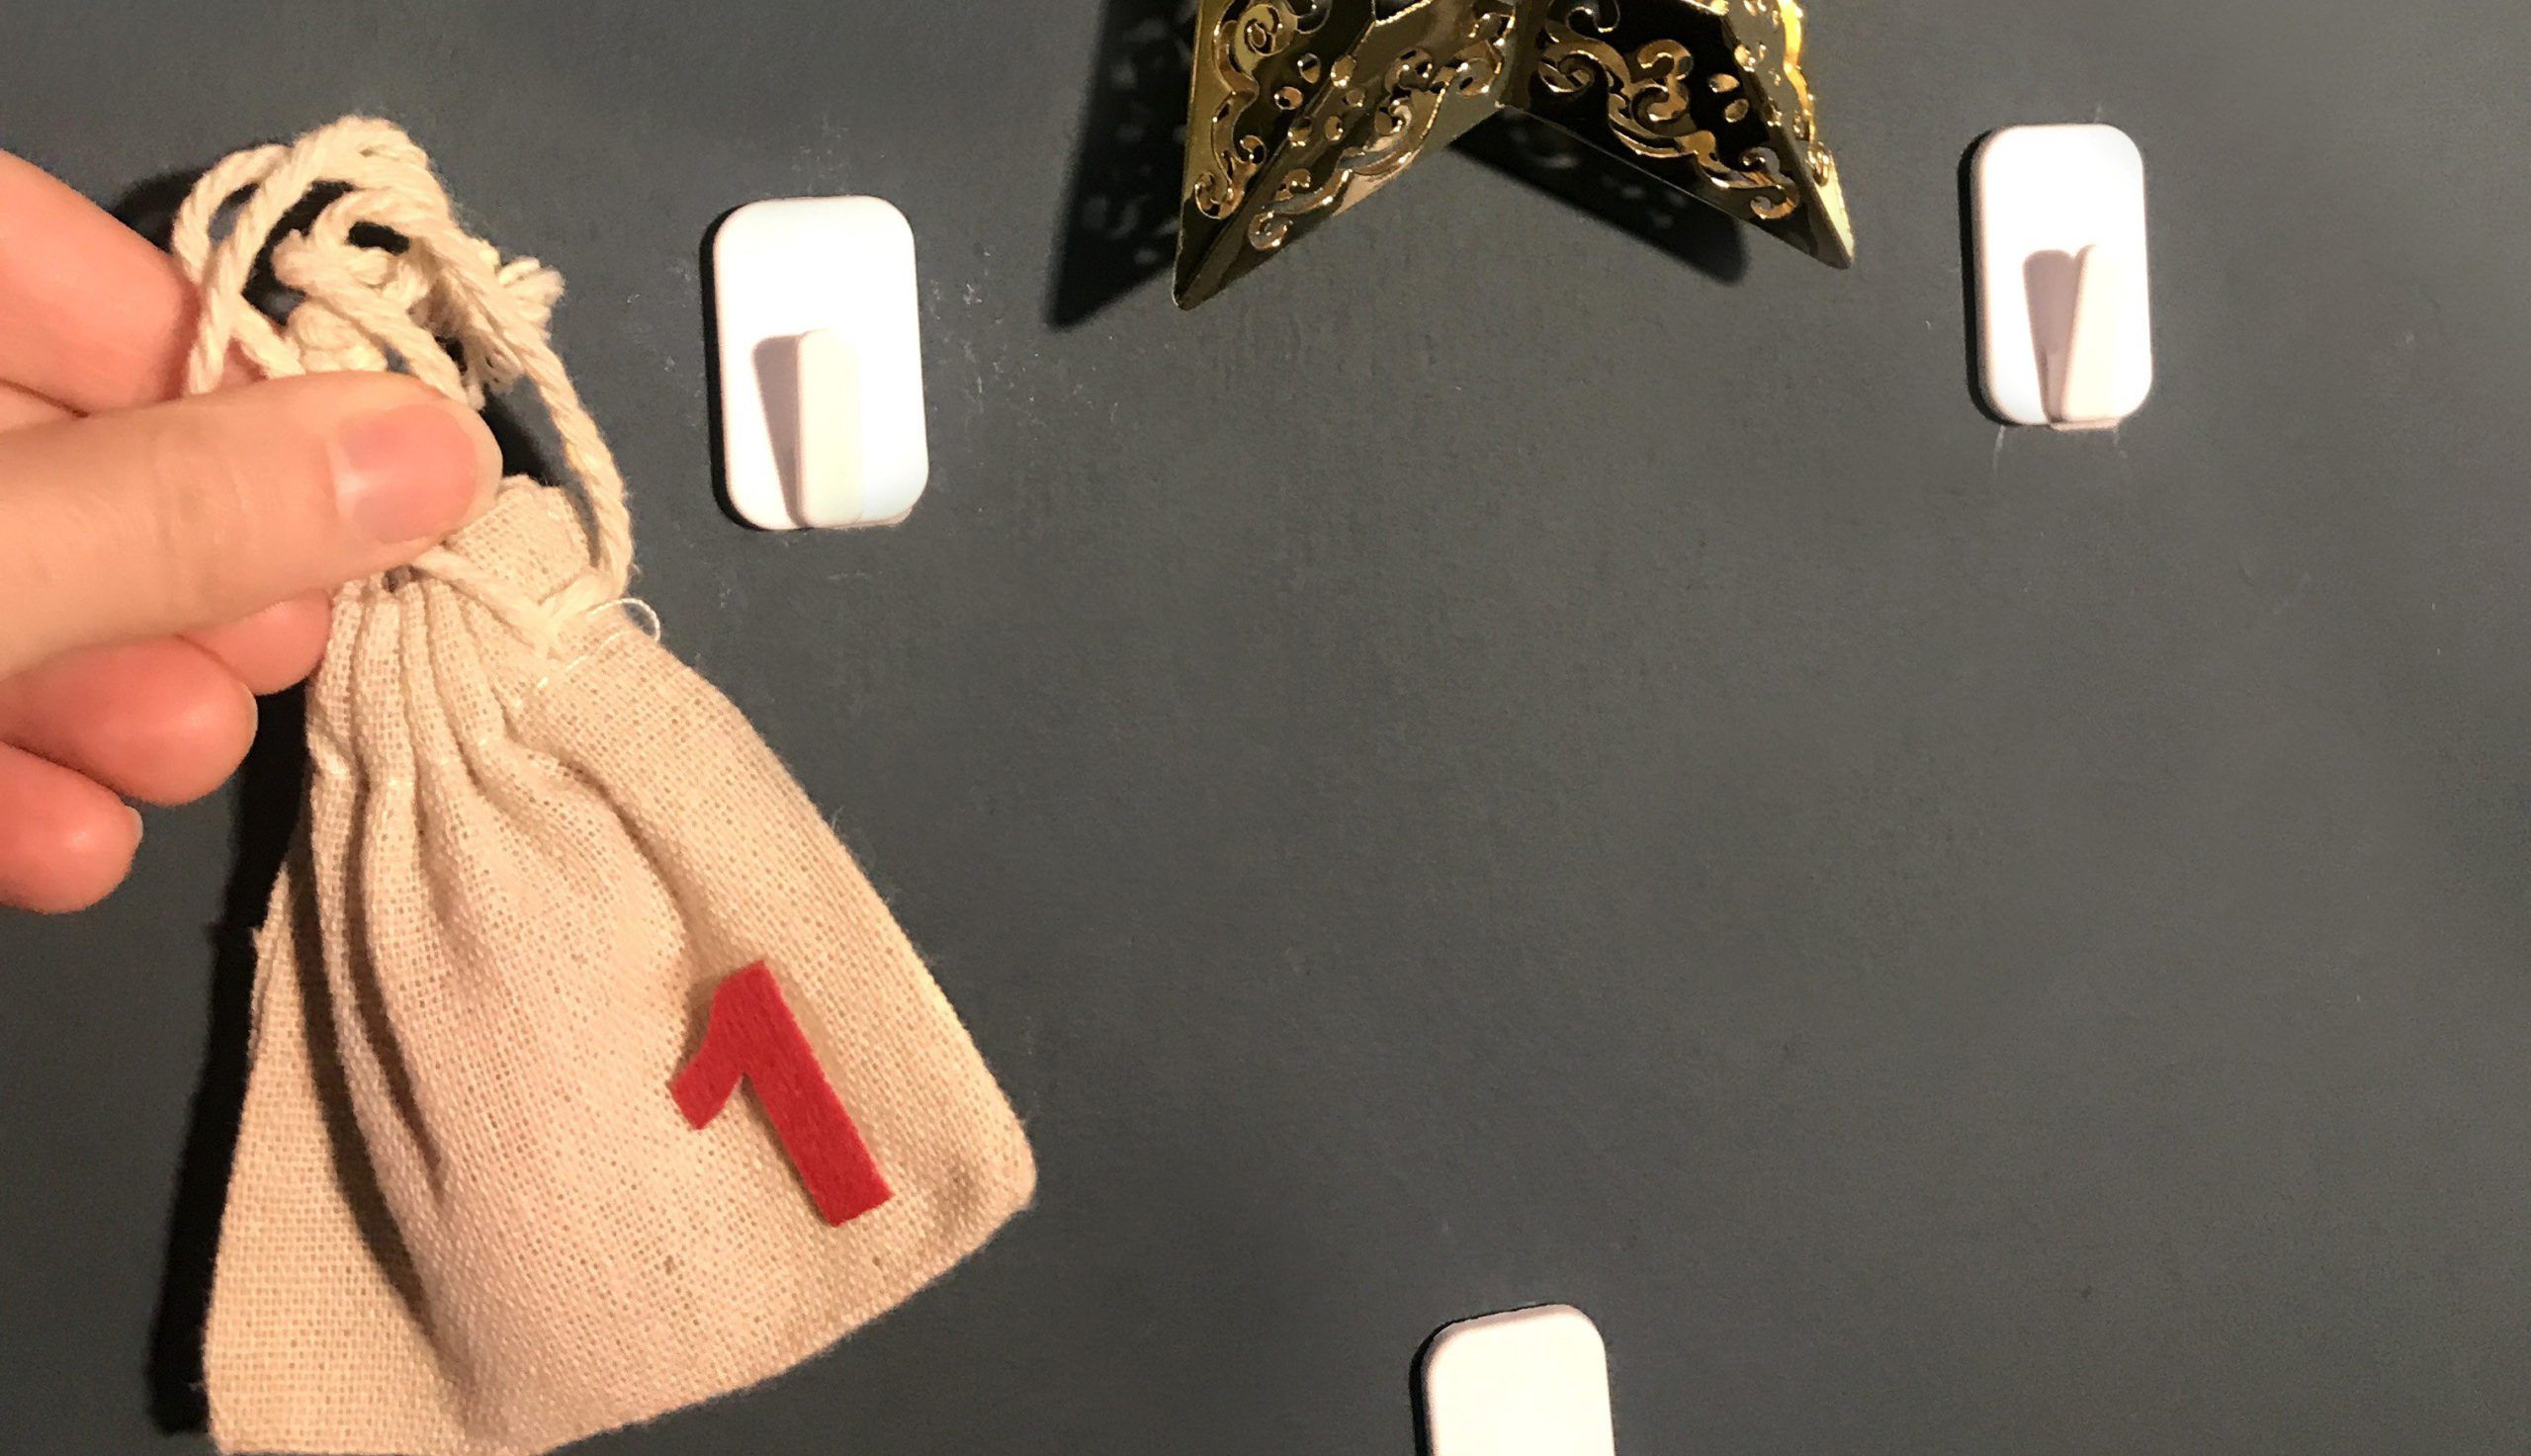
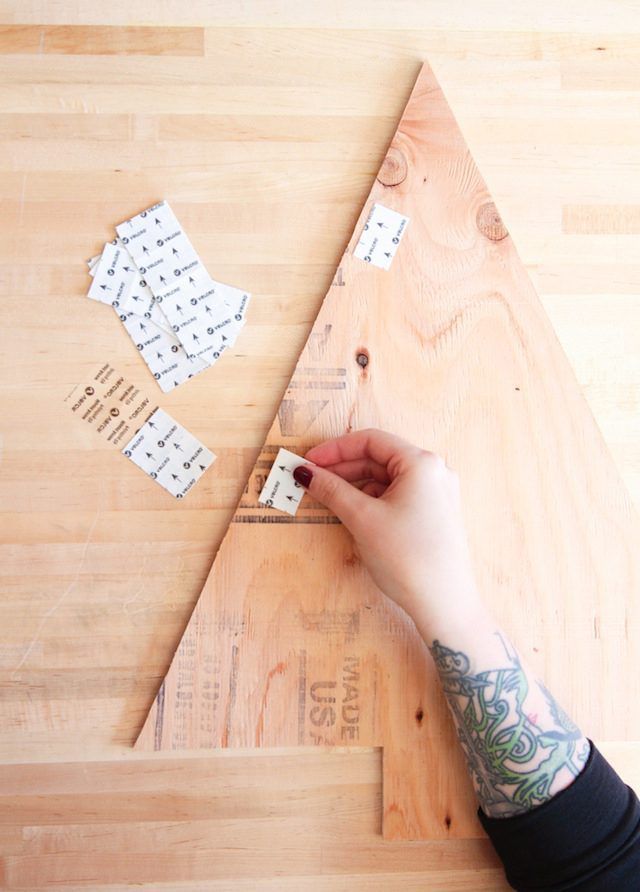
To hang, simply apply VELCRO® Brand removable hangers stripes; one side will go on the back of your tree, the other on the wall. I used 5 total. These stripes are removable, so you’ll be able to take this off your wall without damaging it once the holidays are over! No nails required and renter friendly, yahoo!

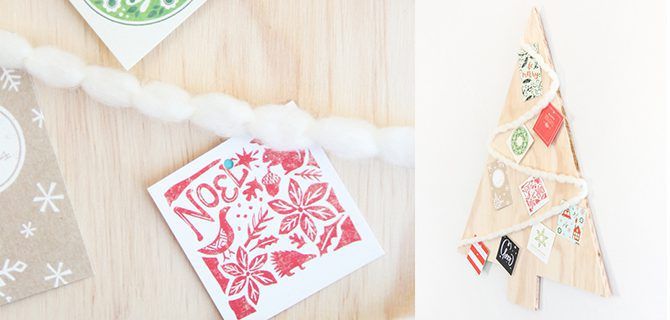
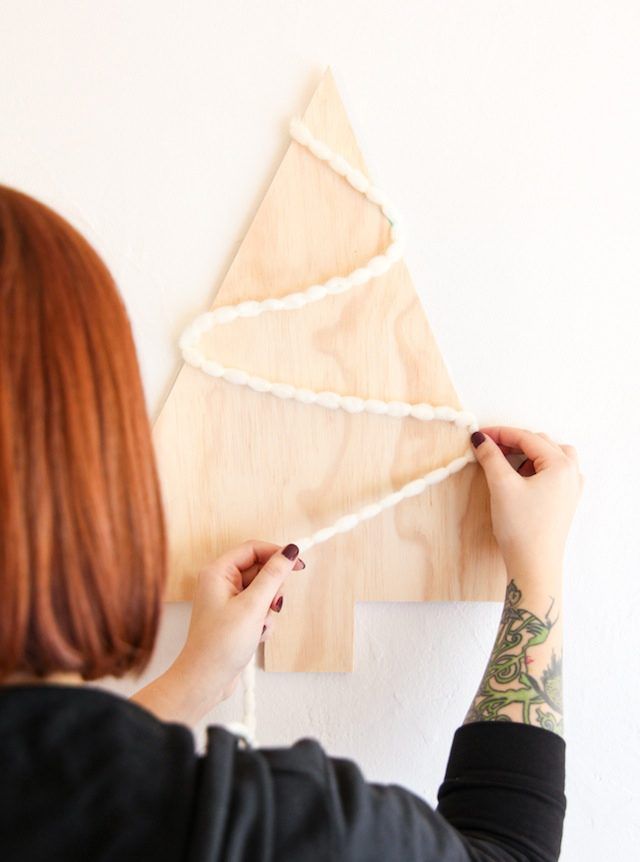
Now all that’s left to do is decorate! I used yarn and gift tags, but if you go larger, you could use this to display your Christmas cards. You might even be able to hang a few lightweight ornaments too.
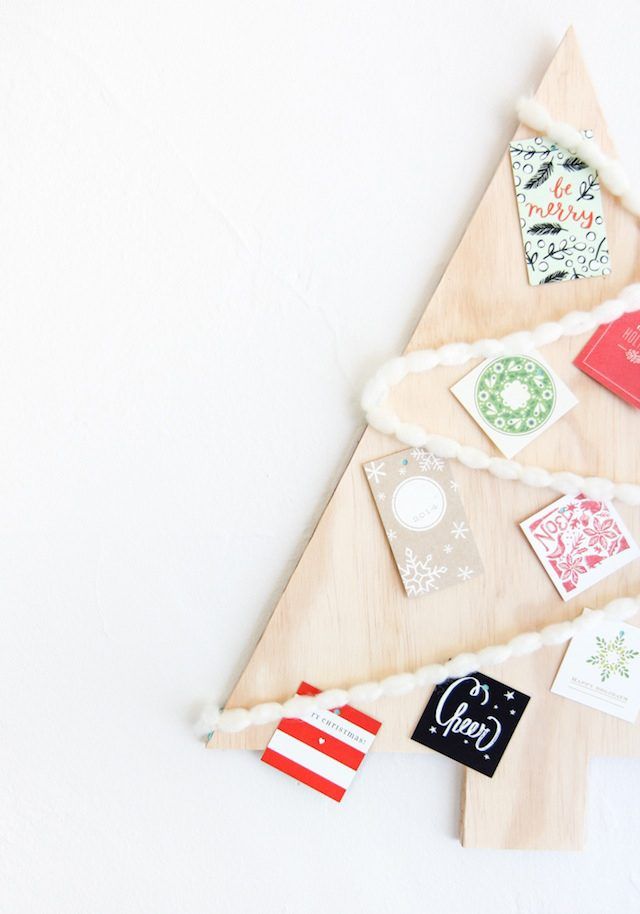

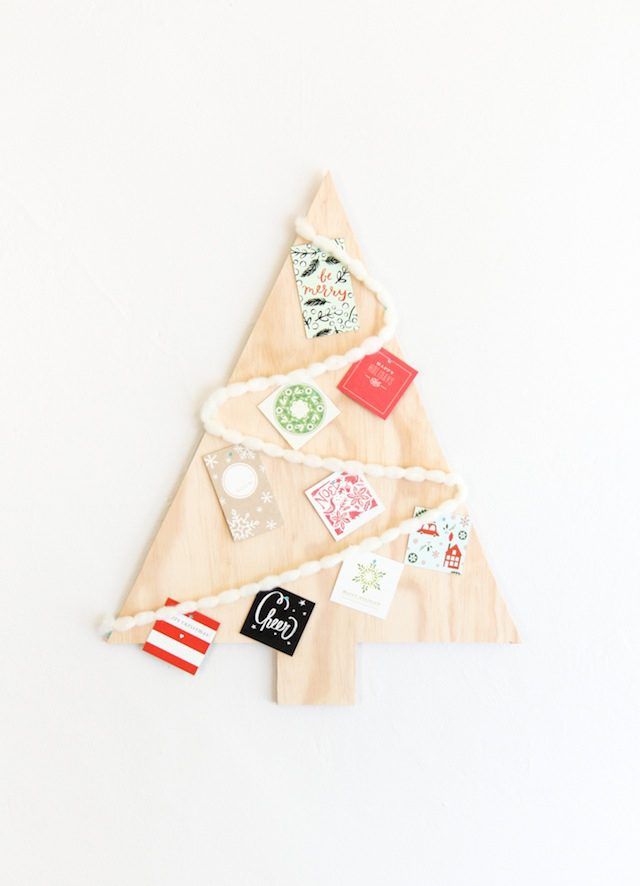
How adorable is this? Thanks to Rachel for putting this project together. Check out her other creations here.
