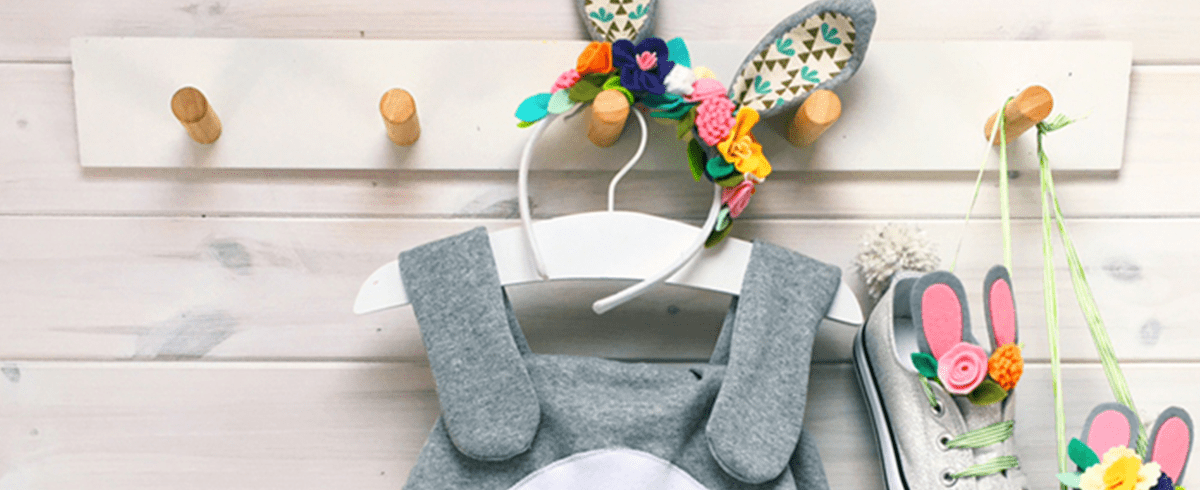
Name something more adorable than dressing your little one as a bunny rabbit on Easter Sunday. We’ll wait…
Well, with the help of some VELCRO® Brand Fabric Tape, we’re going to show you how to make a homemade rabbit costume. (Get ready to say ‘awww!’)
Just a heads up: This rabbit costume DIY is at an intermediate to difficult level.
CRAFT SUPPLIES: WHAT YOU WILL NEED
- VELCRO® Brand Fabric Tape
- Approx. 29.5 inches of grey marl sweatshirt material (or similar) for a grey bunny costume
- 10 inches of white fleece or felt
- 20 inches t-shirt material (or similar) for the inner dress
- Fabric scissors
- Sewing machine
- Sewing pins or safety pins
HOW TO MAKE A HOMEMADE BUNNY COSTUME
- Measure and Cut the Dress Pieces
The first step of making this DIY bunny costume is working out the measurements for the dress.
The children’s bunny outfit shown fits a 4-year-old, so adjust for your child’s size. You’re aiming to cut two pieces of material like this:
For the inner dress:
1. First, measure your child’s chest just below the armpits. Divide this measurement in half and add 2 inches for seam allowance—this is measurement A.
2. Next, add 4 inches to the width of the bottom of the dress—this is measurement B.
3. Measure from the middle of their chest to where you want the dress to end (around mid-thigh)—this is measurement C.
4. Draw a shape on a piece of paper using these measurements. Curve the top down at each side to match the diagram below.
For the outer dress:
Use the exact measurements as before, but add 6 inches to A, 4 inches to B and 12.5 inches to C. Then, draw a new template piece that matches the diagram. - Make the Straps
Now to make the straps of your Easter rabbit costume.
Hold the inner rabbit costume pattern piece against your child. Measure how long the straps need to be so they overlap the front and back of the dress by about 2 inches. Cut a template pic that measures this by 2 3/4 inches.
Using the templates, cut out:
– 2 inner dress pieces
– 2 outer dress pieces
– 4 star pieces
– 1 oval bunny tummy (about 11 x 8 inches)
Machine sew the strap together, leaving the small straight edge unsewn. After sewing, carefully trim any excess material and snip a few notches around the curve. Then, turn the right side out, press it and repeat with the other strap.
- Sew the Inner Dress
The next step is making the inner part of the DIY rabbit costume. Pin the two lining pieces’ right sides together down each side. Machine sew them together, then trim away any excess fabric.

- Sew the Outer Dress
Now, make the outer part of the kids’ bunny costume. Pin the tummy piece to the middle of one piece of the grey fabric. Use a zigzag stitch to machine sew the tummy in place.

Take the two outer pieces of the dress and place their right sides together. Pin along the two side edges, then sew.
- Gather the Outer Dress
Now, you need to gather the outer dress. With the outer dress pieces facing each other, sew two rows around the top edge: one 0.2 inches and the other 0.6 inches from the edge. If you have it, use a stronger thread, set your machine to its longest stitch length, and don’t backstitch at the beginning or end. Leave long threads at each end. Repeat around the base of the dress.

At the top of the dress, gently pull one of the threads from a row of stitching. The fabric will start to gather. Keep pulling until the top of the outer dress is as wide as the top of the inner dress and the gathers are even.
Repeat with the lower row of stitches.
Note: You can do this with just one row of stitches, but the second row stabilizes the gather and helps keep it in place.
Repeat the same steps with the two rows of stitching at the base of the dress. Gather the fabric until it’s as wide as the base of the inner dress.
- Attach the Straps
Place the outer dress (still right sides facing) tummy down onto a flat surface.
Take the two straps and place them on the dress so the curved ends are facing down the dress towards the bottom hem.
Place the straps about 4 inches apart from the middle. This is a good time to try the dress on your child to check the strap placement. Make sure about 3/4 inch of fabric sticks up beyond the top of the dress, then pin it in place.
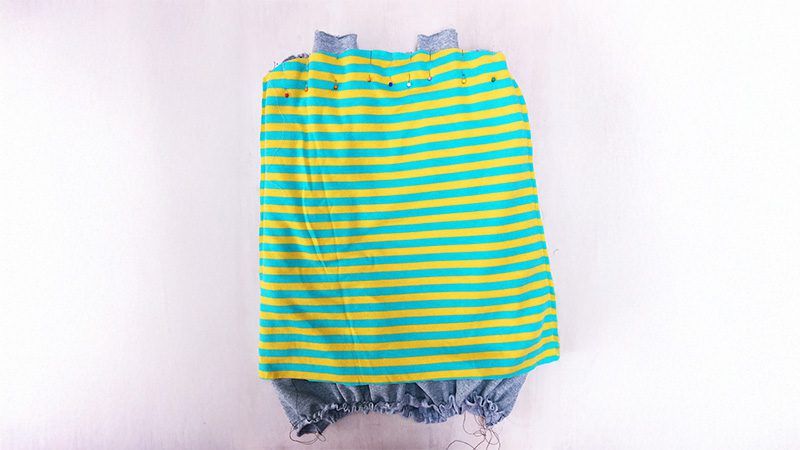
- Combine the Inner and Outer Dresses
Carefully insert the outer dress into the inner dress, lining the side seams up. Line up the inner and outer dress top edges all around and then pin them in place.
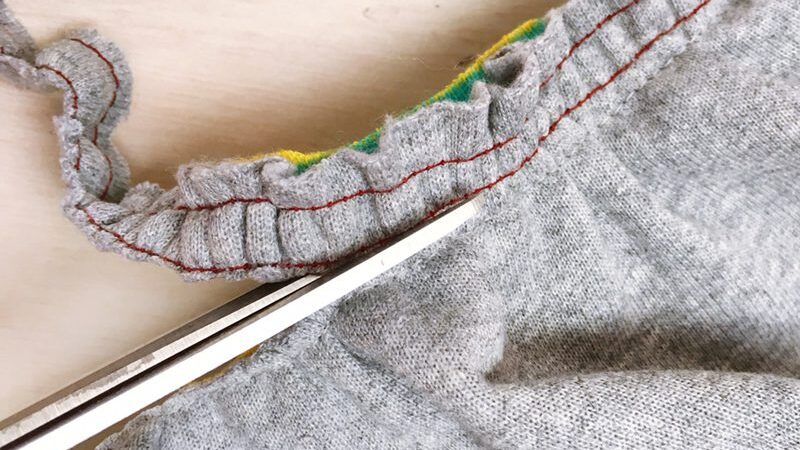
- Sew the Top Edge
Sew around the top of the dress with a sewing machine, about 1 inch from the edge, to go beyond the two rows of gathering stitches. Keep the right sides facing trim away from any excess fabric.

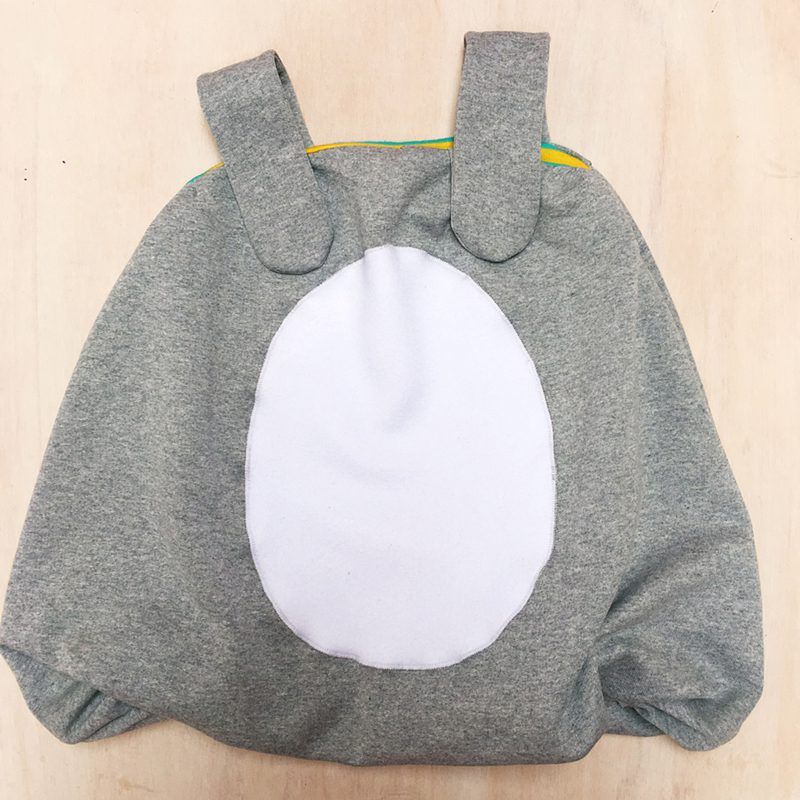
- Finish the Dress
Turn the dress right side out (the straps will pop out). Adjust the fabric until the inner dress is inside the outer dress. Line up the top edge so the inner dress isn’t visible. Press with an iron to keep this edge crisp.
At the bottom, pin the inner dress’s edge to the outer dress’s edge. Since the outer dress is longer, pull the inner dress down a bit to line up the edges.
Pin around the whole dress and machine sew. Again, sew approximately 1 inch in from the edge of the dress to avoid the double row of gathered stitching.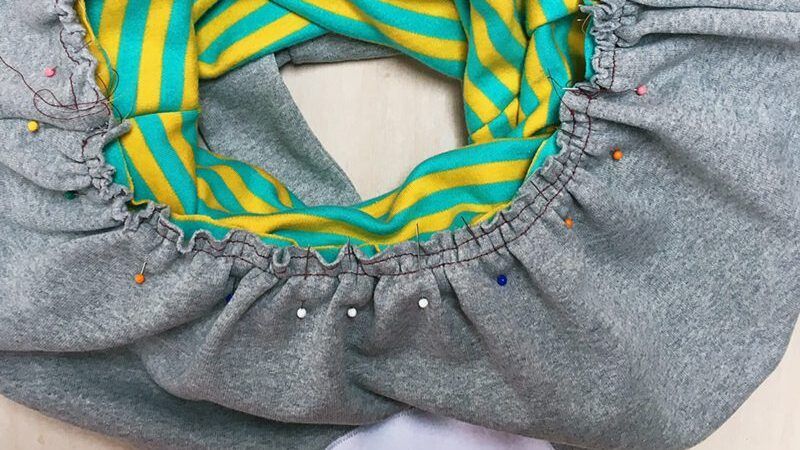
- Trim Excess Material
Carefully cut away all this excess material. You’ll see a raw seam edge on the right side of the dress, but the excess outer dress material will hide it, so don’t worry.
- Create the Puffball Effect
Adjust the fabric to align the top edges of the dress. The inner dress will pull up the bottom, creating a puffball effect.
- Add Adjustable Straps with VELCRO® Brand Fabric Tape
Take a 4-inch strip of VELCRO® Brand Fabric Tape and press in place on the underside of one of the straps. Cut a 2-inch strip of the loop and press it into place on the dress. (A longer strip on the underside of the strap lets you adjust the straps while wearing the dress.)

- Make and Attach the Fluffy Tail
Now that your DIY Easter bunny outfit is taking shape, you just need a fluffy tail!
Using VELCRO® Brand Fabric Tape to attach the bunny tail to the dress lets you remove it if it gets uncomfortable when sitting down! Cut 10 circles of white fleece approximately 5.5 inches in diameter.
Fold each circle into quarters. Then, sew a few stitches at the point of each circle, either by machine or hand, to hold the layers together.
Place four of the folded circles together to form a circle. Hand-stitch these together. Repeat with four more circles, then place one set on top of another and sew in place.
Take the last two folded circles and sew them to the top of the stack. Open each circle a bit to make a nice fluffy tail.
Place a cross of VELCRO® Brand Fabric Tape onto the back of the tail and the loop side to the back of the dress, then fix the two together.
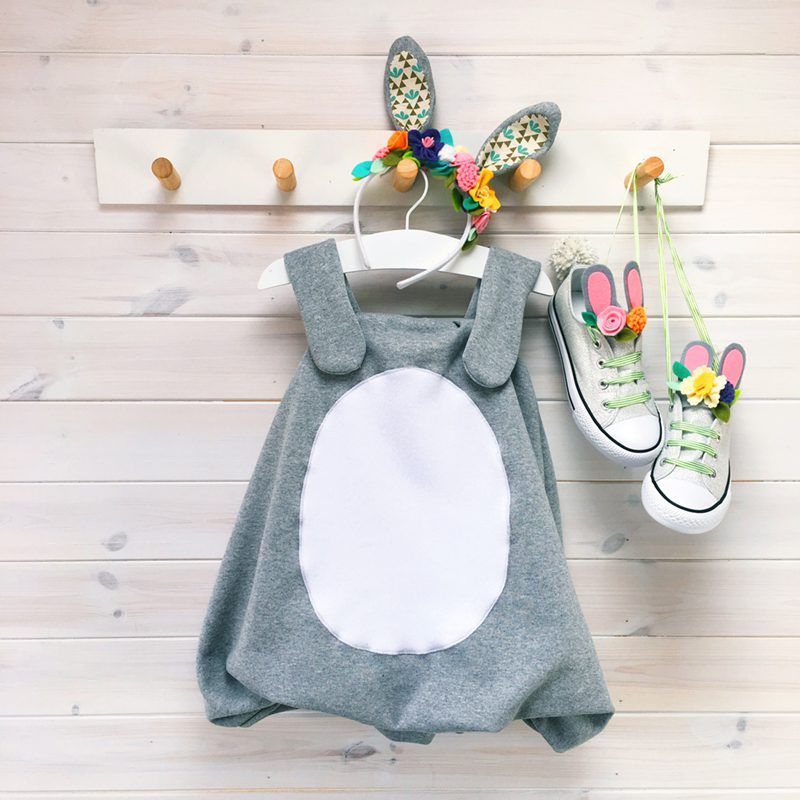
And that’s it! Add some bunny ears, and your DIY Easter bunny costume is ready for your little one’s Easter egg hunts.
Your DIY Easter Bunny Costume is Ready!
Try it for yourself and tag @velcrobrand on Instagram with your finished results! While you’re there, see how to make a matching Easter bunny DIY costume for your fur baby.
View this post on Instagram